
How to Repair a Separated Shoe Sole at Home: Best Glue & Fixes Guide 2026
Last updated: July 2026
Introduction
There is a specific, heartbreaking sound that every footwear lover knows. It’s the flap-flap-flap noise of a sole that has given up the ghost, separating from the upper while you are walking down the street. Whether it’s your favorite pair of broken-in leather boots or the sneakers you use for your morning commute, a separated sole feels like a death sentence for the shoe.
It doesn’t have to be.
Over the last 20 years managing a busy shoe store, I have handled thousands of returns and repairs. I’ve seen expensive Italian loafers separate after a month due to humidity, and budget sneakers last five years without a crack. The difference often comes down to the quality of the bonding agent used at the factory—and how you treat them.
In this guide, I’m taking off my retailer hat and putting on my repair apron. I’ll teach you how to repair a separated shoe sole at home using the same principles we use in the industry. We will look at the best glue for shoes, why “more glue” is usually a mistake, and when you need a full sole replacement for shoes rather than a patch job.
Quick Answer: Shoe Sole Coming Off or Separated?
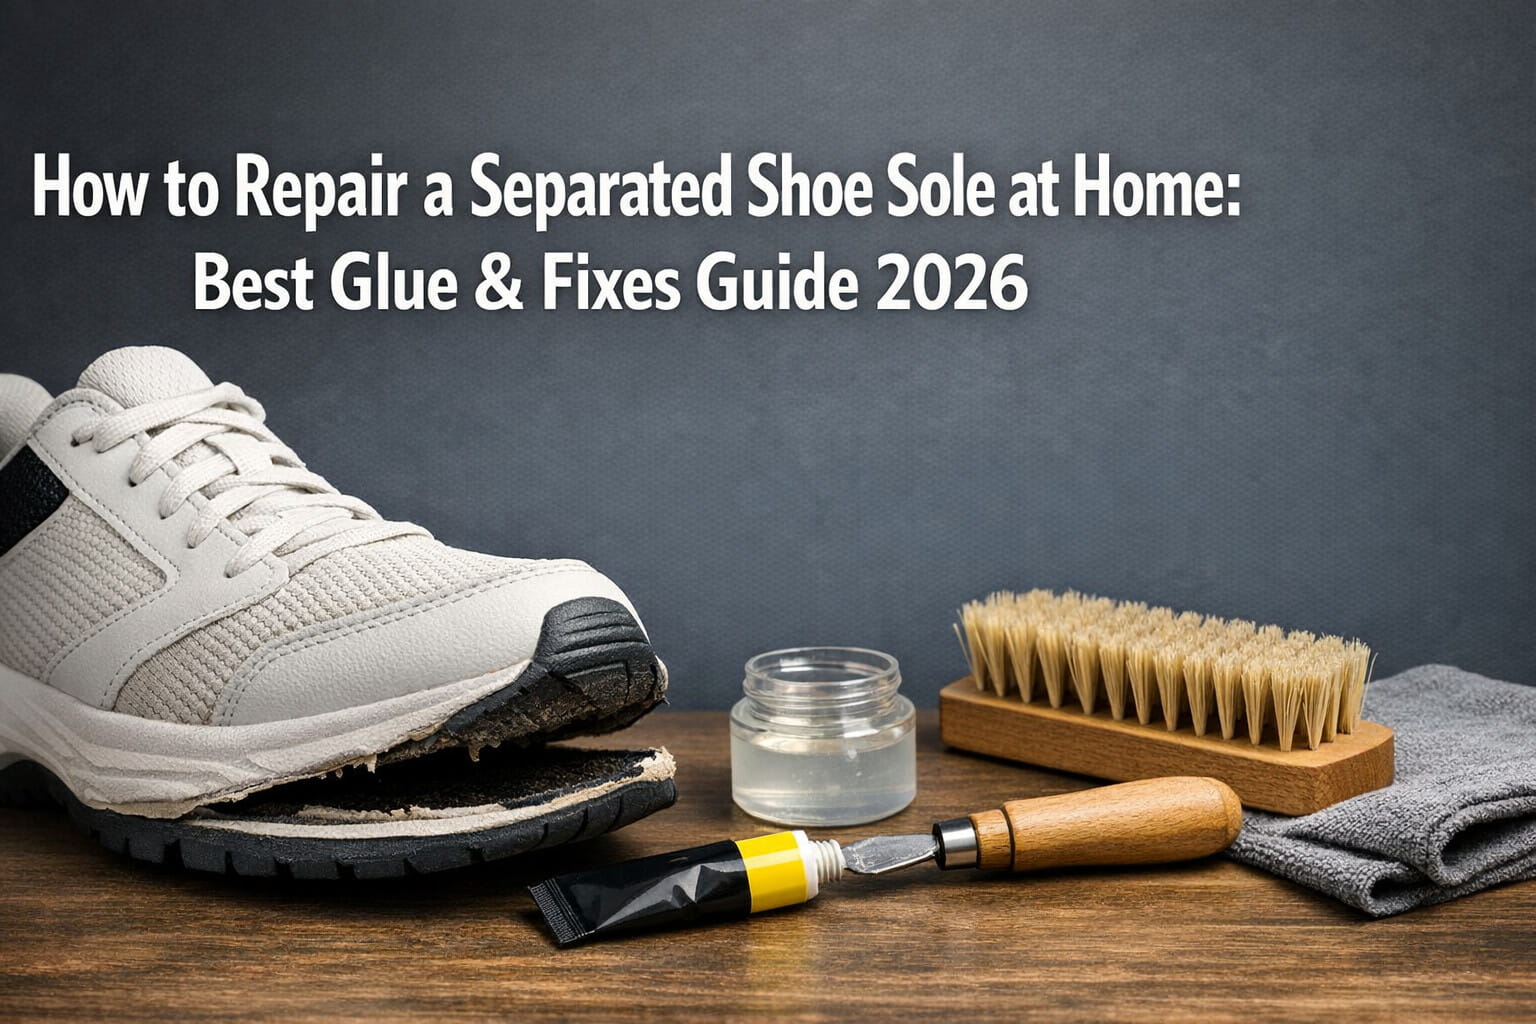
If your shoe sole is separating, peeling, or has come off completely, the fix is the same: strip old adhesive with acetone, roughen both surfaces with sandpaper, apply flexible contact cement to both sides, let it get tacky (15–20 minutes), heat-activate with a hairdryer, press firmly, and clamp for 24 hours. This works whether the sole “separated,” “came off,” or is “peeling away” — it’s the same repair regardless of how you describe it.
Note: if your sole hasn’t detached but has gone slick or slippery, that’s a different problem — see the traction section below, not the glue repair steps.
Why This Topic Matters: The Global Reality of “Shoe Fail”
In the two decades I spent on the floor of my shop in Chennai, I noticed a global shift in how shoes are made. In the past, shoe soling was often stitched (Goodyear welt or Blake stitch). Today, 90% of the footwear market—from high-street fashion to athletic gear—relies purely on cement construction.
This means your shoes are held together by chemistry, not thread.
Whether you are in London, New York, or Singapore, the problem is universal: Hydrolysis. This is when moisture in the air breaks down the chemical bonds in Polyurethane (PU) soles, causing them to crumble or peel.
Most buyers make three critical mistakes when this happens:
- They throw the shoes away (creating unnecessary waste).
- They use household super glue (which ruins the shoe permanently).
- They pay a cobbler more than the shoe is worth for a simple glue job.
Repairing your own shoes isn’t just about saving money; it’s about understanding the mechanics of what you wear. If you have the right good glue for shoes and patience, you can extend the life of your footwear by years.
Understanding the Anatomy of the Separation
Before you buy supplies, you need to identify what has separated.
- The Outsole Separation: This is when the rubber tread peels away from the midsole. This is the easiest fix.
- The Midsole Separation: The cushioning foam layer detaches from the upper fabric/leather. This requires stronger compression.
- The Crumble: If the sole is turning into dust or sticky crumbs, no glue will fix it. The material has expired (hydrolysis). In this case, you need a total sole replacement for shoes, which is a job for a professional cobbler.
Sole Feels Slick or Slippery? That’s a Different Problem
Not every sole issue is separation. If your sole is still firmly attached but has gone smooth and slippery — common on worn running shoes, work shoes on tile/wet floors, or older leather-soled dress shoes — you don’t need glue. You need to restore grip.
Options, from quickest to most permanent:
- Sandpaper roughening (temporary, free): Scuff the worn area with 80–100 grit sandpaper in a crosshatch pattern. This restores basic grip for a few weeks but wears down again with use.
- Traction spray or grip pads (short-term): Rubberized traction sprays (often marketed for restaurant/hospital work shoes) or adhesive grip pads add texture back to a smooth sole without altering its shape.
- Re-soling with a grip-specific rubber sheet (permanent): For a lasting fix, a cobbler (or a confident DIYer using the sole-replacement method later in this guide) can add a thin grip-pattern rubber sheet over the existing smooth sole.
If your shoes are used for work in slippery environments (restaurant, healthcare, warehouse), don’t rely on sandpaper alone — a proper slip-resistant re-sole is worth the cost given the fall risk.
The Toolkit: What You Actually Need
Don’t start squeezing a tube of adhesive yet. As any veteran footwear expert will tell you, the preparation is 90% of the job.
- The Adhesive: A high-grade contact cement (details below).
- Acetone or Alcohol: To strip the old factory glue.
- Sandpaper (120 grit): To roughen the surface for bonding.
- A Heat Source: A hairdryer or heat gun.
- Clamps or Elastic Bands: Heavy rubber bands, duct tape, or specialized woodworking clamps.
- A Popsicle Stick: For spreading glue.
Step-by-Step: How to Repair Your Shoe Sole
Step 1: Clean and Strip
Old glue is the enemy of new glue. If you apply fresh adhesive over the dried, crusty factory glue, it will fail within a week.
- Pull the separated layers apart as much as possible without tearing the material.
- Use a rag soaked in acetone (nail polish remover works in a pinch) to wipe away grease, dirt, and old adhesive.
- Expert Note: If the shoe is leather, be careful not to get acetone on the visible upper leather, as it will strip the dye.
Step 2: Roughen the Surface (The Secret Step)
This is the step most DIYers miss. Glue adheres best to a rough surface, not a smooth one.
- Take your sandpaper and scrub both the underside of the upper and the top of the loose sole.
- You want to create “micro-abrasions.” These little scratches give the glue something to grab onto.
Step 3: Choosing the Best Glue for Shoes
Not all glues are created equal. Here is the breakdown:
- Contact Cement (Best Overall): Brands like Barge, Dap Weldwood, or generic Polychloroprene. This is what professionals use. It stays flexible, moves with your foot, and is waterproof.
- Urethane Adhesives (Good for Boots): Brands like Shoe Goo or Freesole. These are thick and fill gaps well, making them great for hiking boots or skaters, but they can be messy.
- Cyanoacrylate (Super Glue): Avoid. It dries hard and brittle. When your shoe bends as you walk, the glue will snap. Only use this for fixing a tiny flap on a heel, never a flex point.
Step 4: The Application
- Apply a thin, even layer of contact cement to BOTH surfaces (the sole and the upper).
- Do not press them together yet. This is counter-intuitive.
- Keep the layers separated (use a toothpick to hold them apart if needed).
Step 5: The Waiting Game (Curing)
- Let the glue dry for 15 to 20 minutes.
- The Knuckle Test: Touch the glue with your knuckle. It should feel tacky (sticky) but no glue should come off on your skin. If it’s wet, wait longer.
Step 6: Heat Activation (Retailer Pro-Tip)
This is how factories get that super-strong bond.
- Take your hairdryer on a high heat setting.
- Blast both glued surfaces for about 30-45 seconds.
- The heat “wakes up” the chemical agents in the cement, making them hyper-adhesive for a brief window.
Step 7: Bond and Clamp
- Carefully align the sole with the upper. Once they touch, they are stuck, so aim true!
- Press them together with as much force as you can muster.
- Hammer the sole lightly with a rubber mallet or the back of a screwdriver handle to eliminate air bubbles.
- Wrap the shoe tightly with elastic bands, duct tape, or use clamps.
- Cure Time: Leave it for at least 24 hours. 48 hours is better.
What If You Don’t Have Glue? (Temporary Fixes)
If you need a same-day fix and don’t have contact cement on hand, these won’t last as long as a proper glue repair, but they’ll get you through:
- Duct tape or Gorilla Tape (emergency, 1–2 days): Wrap tightly around the separated area, overlapping several times. Not waterproof-reliable and looks rough, but genuinely holds for short walks.
- Shoe repair tape (better short-term option): Purpose-made adhesive shoe tape is thinner, more flexible, and far less visible than duct tape, while still being a temporary measure rather than a permanent bond.
- Stapling (professional only): Some cobblers use small industrial staples through the welt as a fast, sturdy fix on certain shoe constructions — not a DIY option, but worth asking for if you need it fixed same-day at a repair shop.
- Why not skip glue permanently: none of these options flex and seal the way contact cement does — treat them as a bridge until you can do the full glue repair, not a long-term replacement for it.
Comparison: Choosing Your Weapon
When looking for a good glue for shoes, it depends on your specific footwear type.
| Feature | Contact Cement (Barge/Dap) | Shoe Goo (Urethane) | Super Glue (Cyanoacrylate) |
|---|---|---|---|
| Flexibility | High (Best for walking) | High (Rubbery) | None (Brittle) |
| Waterproof | Yes | Yes | Moderate |
| Dry Time | Instant bond, 24hr cure | 24-72 hours | Seconds |
| Gap Filling | Low (Needs tight fit) | High (Fills holes) | None |
| Best For | Sneakers, Dress Shoes | Skater shoes, Hiking boots | Emergency heel fix only |
Pro-Tips from the Shoe Shop Floor
In my 20 years of retail, I’ve seen customers try everything. Here are the “insider” tips that separate a temporary fix from a permanent repair:
- The “Stuffing” Technique: Before you clamp the shoe, stuff the inside of the shoe tightly with newspaper or socks. This provides a solid internal structure so that when you wrap the outside with tape or bands, the shoe doesn’t collapse or lose its shape.
- Don’t Over-Glue: Beginners think a thick glob of glue is stronger. It’s not. Thick glue takes forever to dry and creates a “squishy” layer that allows movement. Two thin layers are infinitely stronger than one thick layer.
- Humidity Matters: Do not attempt this repair on a rainy day or in high humidity if you can avoid it. Moisture in the air interferes with the chemical curing process of contact cement.
Common Mistakes to Avoid
- Using Wood Glue or Gorilla Glue (Original): The original Gorilla glue expands as it dries. It will foam up, seep out of the cracks, and look terrible. It is also rigid, meaning it will break when you walk.
- Rushing the “Open Time”: If you press the two sides together while the glue is still wet, the solvents cannot evaporate. The glue will never fully cure, and the sole will slide off within days.
- Ignoring the Flex Point: The ball of the foot (where your toes bend) is the highest stress point. If the separation is here, you must use high-quality contact cement and clamp it very tightly.
When to Consider Sole Replacement for Shoes
Sometimes, glue isn’t enough. If you have worn through the tread completely, or if the rubber has become hard and slippery, you are looking at a safety hazard.
Shoe soling sheets are available online. You can buy Vibram rubber sheets or generic soling sheets.
- Rip the old sole off completely.
- Sand the midsole flat.
- Trace your shoe shape onto the new soling sheet.
- Cut, glue, and clamp as described above.
However, if the shoe is a complex construction (like a Goodyear welted boot or a high-tech running shoe with air bubbles), this is best left to a professional.
People Also Ask (PAA)
Can I use hot glue to fix my shoe sole? No. Hot glue is sensitive to temperature and lacks the flexibility required for walking. It will crack or melt with friction heat almost immediately.
How long does shoe glue take to dry? Most contact cements bond instantly upon contact but require a full 24 hours to reach maximum chemical cure strength. Do not wear them before this period.
What is the best glue for sneaker soles? Flexible contact cements like Barge Infinity Cement or Angelus Direct Shoe Cement are the industry standards for sneaker restoration.
Why did my shoe sole fall off in the closet? This is likely hydrolysis. PU soles degrade over time when not worn, as the compression of walking actually cycles air through the material and keeps it healthy.
Frequently Asked Questions (SEO Optimized)
1. Is Gorilla Glue good for shoe repair?
Only if you use the specific “Gorilla Glue Gel” or their contact adhesive. Avoid the original expanding formula, as it is too rigid and messy for footwear.
2. How much does professional shoe sole repair cost?
Depending on your location, a simple re-glue can cost $15–$30, while a full sole replacement can range from $50 to $100+. DIY is significantly cheaper.
3. Can you re-glue a sole on running shoes?
Yes, but be careful with the foam midsole. Ensure you use a glue compatible with EVA foam so it doesn’t melt the cushioning.
4. Does Shoe Goo work for separated soles?
Shoe Goo is better as a sealant or hole-filler rather than a bonding agent for a fully separated sole. It can work, but contact cement provides a tighter, cleaner bond.
5. What sandpaper grit should I use for shoes?
Use 100 to 120 grit sandpaper. You want it rough enough to scratch the surface but not so rough that it tears the material.
6. How do I remove excess glue from my shoe?
If the glue is wet, wipe it with acetone (test a hidden spot first). If it’s dry, you can often rub it off with a crepe rubber eraser or carefully pick it off.
7. Can I fix hiking boots with a separated sole?
Yes, but hiking boots undergo extreme stress. Use the highest strength contact cement available and clamp for 48 hours.
8. What is the difference between contact cement and rubber cement?
Rubber cement is weak and temporary (used for paper). Contact cement is industrial-strength and permanent. Never use stationery rubber cement on shoes.
9. Why do my shoes keep separating after I glue them?
You likely didn’t clean the old glue off thoroughly, or you didn’t wait for the glue to get “tacky” before pressing the parts together.
10. Is it worth repairing cheap shoes?
If the upper is comfortable and in good condition, yes. A $10 tube of glue can get you another year out of a $50 pair of shoes, which is a great return on investment.
11. My shoe sole feels slick, not separated — what should I do?
That’s a traction issue, not a bonding issue. Sandpaper roughening gives a quick temporary fix; traction spray or grip pads last longer; a grip-pattern rubber resole is the permanent solution — see the “Slick or Slippery” section above.
12. Can I fix a separated sole without any glue?
Not permanently, but duct tape or purpose-made shoe repair tape will hold for a day or two in an emergency. For a lasting fix, you’ll need contact cement or a cobbler’s stapled repair.
13. Why does my shoe sole keep separating even after I glue it?
Almost always incomplete old-glue removal, or pressing the surfaces together before the cement reached the “tacky” stage. Both cause a weak bond that fails within days or weeks — follow the Knuckle Test in Step 5 before pressing the surfaces together.
Conclusion
Repairing your own shoes is a satisfying skill. It disconnects you from the cycle of “buy, break, toss” and gives you control over your gear. Whether you are trekking through the city or working on your feet all day, a secure sole is non-negotiable.
Grab some sandpaper, get the best glue for shoes you can find, and give those old favorites a second life. Your feet (and your wallet) will thank you.
Ready to start your repair?
- Check prices for Barge Contact Cement on Amazon
- See top-rated Shoe Repair Clamps
- Browse DIY Shoe Soling Sheets
(Disclaimer: Always work in a well-ventilated area when using solvent-based adhesives. Read the manufacturer’s safety instructions.)